

What is Royal Icing?
If you've ever looked at a beautifully decorated cookie and wondered how on earth someone got that level of detail on there — I'm about to answer that question for you. The secret, more often than not, is a royal icing transfer. And once you understand what it is, you're going to see cookie decorating in a completely different way.
So What Exactly Is a Royal Icing Transfer?
A royal icing transfer is a pre-made sugar decoration that's created by piping royal icing onto a non-stick surface, allowing it to dry completely until it's hard, and then carefully lifting it off and placing it directly onto a cookie, cake, or other dessert. That's it. The design is made separately, dried until firm, and then transferred — which is exactly where the name comes from.
Think of it like a tiny edible sticker, except instead of paper and ink, it's made entirely of sugar icing. And instead of a sticky back, it adheres to your cookie with a small dab of royal icing used as edible glue.
Why Does This Matter for Your Cookies?
Here's the thing. Piping intricate designs directly onto a cookie in real time is genuinely difficult. It takes steady hands, years of practice, and a lot of patience. Most people who are new to cookie decorating — or even intermediate decorators — find that level of detail overwhelming.
Royal icing transfers solve that problem completely. The detail work is done off the cookie, on a flat surface, at your own pace. There's no pressure. If a transfer doesn't turn out right, you make another one. Once it's dry and perfect, then and only then does it go onto your cookie.
The result looks like professional, hand-piped artistry. Because it is — just not done under pressure directly on the cookie.
What Are They Made Of?
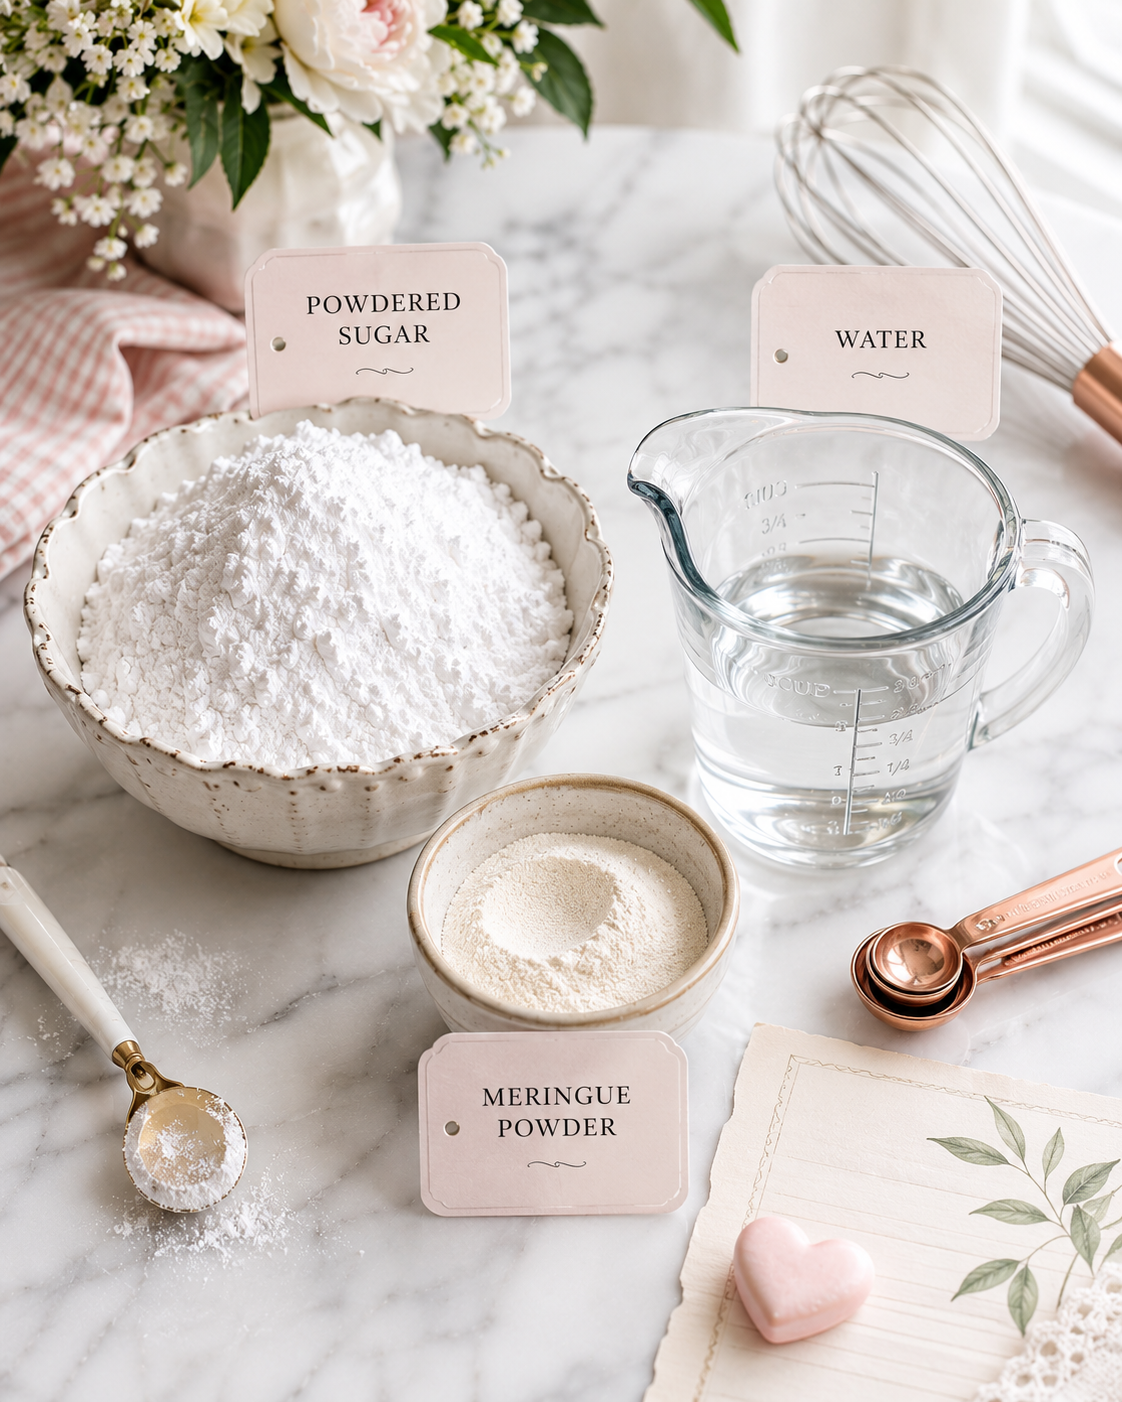
Royal icing transfers are made entirely from royal icing, which itself is made from just three simple ingredients: powdered sugar, meringue powder, and water. That's it. The icing is piped into a design, painted with food-safe colors if desired, and left to cure until completely hard.
Because the ingredients are all food-safe and edible, the transfers are completely safe to eat. They taste like sweet icing and dissolve just like any other royal icing decoration when you bite into a cookie.
At LuminaFlourish, every transfer I create is made by hand using food-safe royal icing. Each one is piped, detailed, and fully cured before it ever reaches you.
How Are They Different From Other Edible Decorations?
You might be wondering how royal icing transfers compare to things like edible images, wafer paper decorations, or fondant cutouts. Here's a quick breakdown:
Royal icing transfers are dimensional and hand-crafted. They have a slight raised quality and a beautiful matte or satin finish. They're made entirely from sugar icing and match seamlessly with royal icing cookie bases.
Edible images are flat printed designs on thin edible paper. They're printed with food-safe ink and lay flat on a surface. They don't have dimension or a handcrafted feel.
Wafer paper is ultra-thin edible paper that can be printed or hand-painted. It's very delicate and reacts to moisture, which can cause it to dissolve or warp if not handled carefully.
Fondant decorations are rolled sugar paste cutouts. They're smooth and flexible but have a different texture and look than royal icing.
Royal icing transfers are in a category of their own because of their dimensional quality, their handcrafted nature, and how beautifully they integrate with royal icing decorated cookies.
A Quick Step-by-Step Overview
Here's how the transfer process works from start to finish, so you can see exactly what's involved:
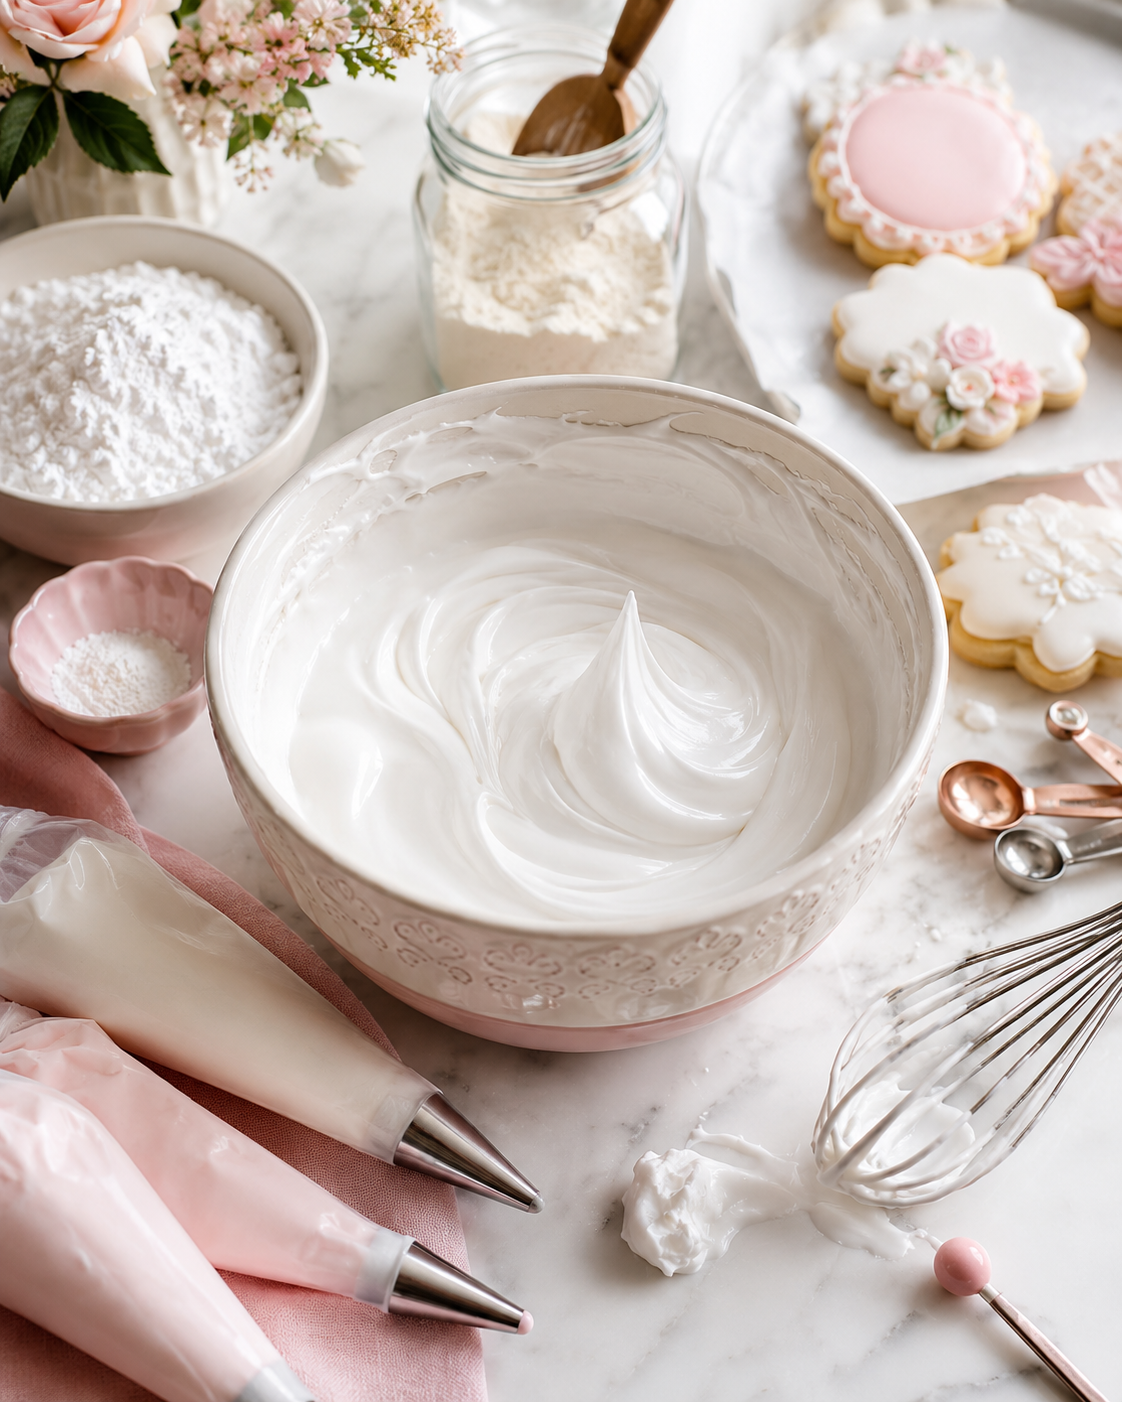
Royal icing is piped onto a non-stick surface — usually a food-safe plastic sheet protector or acetate sheet.
Additional colors and details are added while the icing is wet, or painted on after drying.
The transfer is left to cure completely — usually 12 to 24 hours — until it is rock hard.
Once dry, the transfer is carefully peeled away from the backing surface.
A small dab of thick royal icing is applied to the back of the transfer as edible glue.
The transfer is gently pressed onto the cookie base and held in place for a moment.
The finished cookie looks like it took hours of skilled work — because the transfer itself did.
Common Beginner Mistakes to Avoid
Not letting transfers dry long enough. This is the most common mistake. A transfer that feels dry on the surface might still be soft inside. Always give transfers a full 24 hours to be safe, especially for larger or thicker designs.
Using the wrong surface. Parchment paper can work but often curls from the moisture in the icing, which means your transfer won't dry flat. Food-safe plastic sheet protectors are a much better choice.
Trying to rush the peeling. Peeling a transfer before it's fully dry is heartbreaking. It bends, breaks, and you have to start over. Patience here pays off every single time.
Storing in humid conditions. Royal icing is sugar, and sugar absorbs moisture from the air. Store your transfers and your finished cookies in airtight containers away from humidity.
What You Need to Get Started
If you want to try making your own transfers, here's your basic supply list:
Royal icing (homemade or from a box mix)
Meringue powder (see Amazon suggestion above)
Piping bags and small piping tips
Food-safe sheet protectors or acetate sheets
Gel food coloring
A scribe tool or toothpick for detail work
An airtight container for storage
If you'd rather skip the making and go straight to the decorating, that's exactly what I'm here for. Browse the LuminaFlourish transfer collection and find designs that are already made, cured, and ready to place on your cookies.
Expert Resource
For a visual walkthrough of the royal icing transfer process, I recommend checking out SweetAmbs Cookies on YouTube. She's one of the most respected cookie decorators in the community and her tutorials are clear, detailed, and genuinely helpful for decorators at every level.
The Bottom Line
A royal icing transfer is one of the most useful tools in cookie decorating. It makes detailed, professional-looking designs accessible to anyone — regardless of skill level or experience. You don't need steady hands or years of practice to place a transfer on a cookie. You just need a good transfer and a willingness to try.
That's why I create them. And that's why decorators at every level — from complete beginners to experienced bakers — rely on them.
Ready to try your first transfer? Browse the LuminaFlourish collection and find the perfect design for your next project.